Welcome to our new documentation series on creating your own Algo Trading System Farm. We use automated voices and technologies to help you improve your results faster and with less effort. In this part, we will look at the basic installation of MX Linux. First of all you have to find out how to change the startup settings on your computer so that the installation works later on. This varies depending on the type of computer but most of the time you can get into the configuration by pressing a certain key like Escape or F1. There you can make a setting that allows us to start from a USB stick. But first we have to create this USB stick.
There are different programs for this and depending on the operating system it is quite different. Most people watching these videos will probably start from a Windows operating system and there is a very good and easy way to create a USB stick from our downloaded ISO file. In the last part we said that we want to download the 64 bit version for Fluxbox. But in fact MX Linux offers the possibility to download a 32 bit version. So even 15 year old computers can be used with the latest software. In our example we use a device from 2010. In fact, I also have some netbooks that only work with 32 bit operating systems. They run MX Linux smoothly even with only one gigabyte of memory. However, these devices are not really suitable for building an algo trading server farm.
Instead, we use a Tecra A11 notebook from 2010. This device is no longer a high-performance computer, but the RAM can be upgraded to 8GB. That was quite expensive in the last few years, but meanwhile the technology has developed so much that the RAM for such outdated devices has become very cheap again. Now to create our boot medium on the USB stick we need an appropriate program. Therefore we first download the portable version of the software Rufus for our Windows PC. Rufus is a software that is able to create a boot medium within a few minutes even without installation on your Windows PC. The portable version can be started after the download with a mouse click and here we will get the corresponding ISO image of the version we downloaded for MX Linux. We also need a USB stick that is capable of actually functioning as a boot medium.
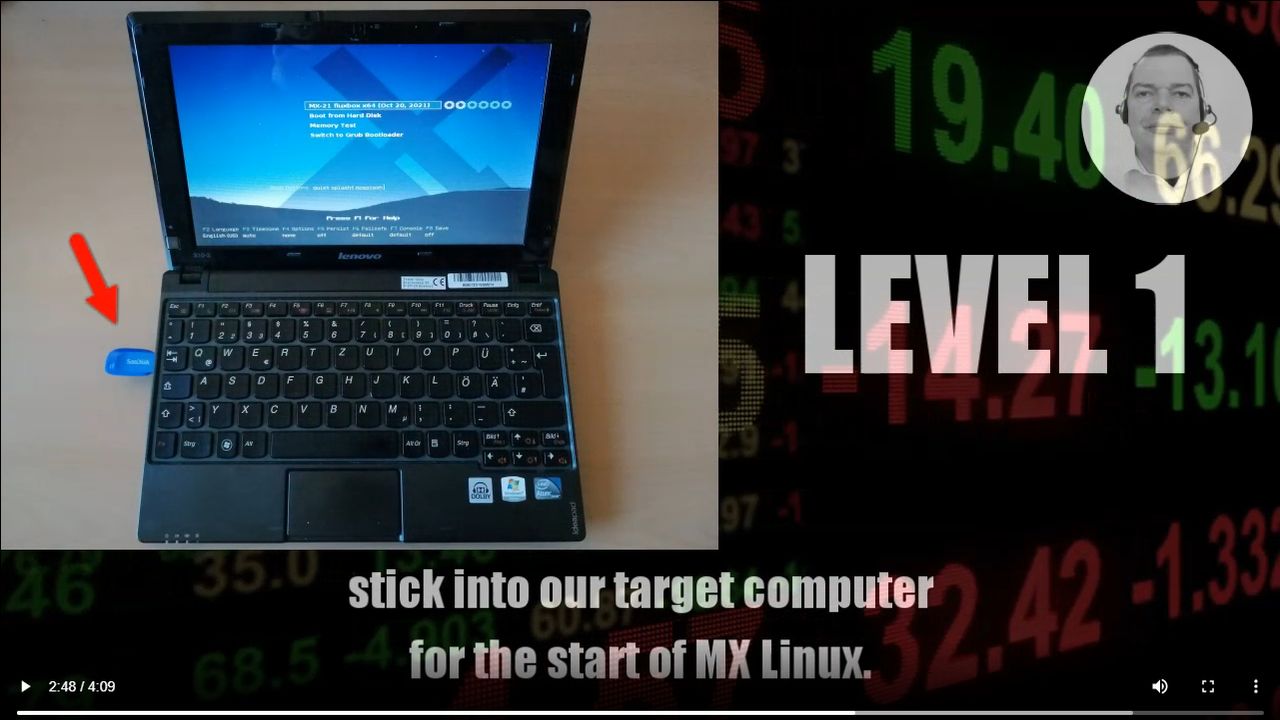
Most current USB sticks should be able to do this without any problems. We have a 32 gigabyte one here, but if you have an old USB stick lying around that has 8 GB or more then it will do. Before you can write the ISO file to the USB stick, please make sure twice that you have selected the correct setting for the target drive. In case of doubt, please remove all external USB devices like hard drives or SD cards in case of notebooks. This will help to avoid confusion. After you have made all the settings accordingly click on the appropriate button to create the USB stick. This should be done within five to ten minutes. Once that is successfully completed, we insert our newly created USB stick into our target computer for the start of MX Linux. Don’t worry, nothing will be installed yet. Before starting the installation process, MX Linux will first run in test mode on the target computer. This gives you the opportunity to make sure everything works before overwriting your other operating system.
If you want to backup your former Windows system before overwriting it with MX Linux, there is a very good and free solution from a company called Lazesoft. It is the so-called Recovery Suite. With it, you can restore the installation from your Windows machine via a USB device as well, if needed. By the way, the Recovery Suite is also capable of backing up even large Windows installations to an external hard drive via a USB port. Okay, that’s it so far with the preparations for the installation of our first server for our Algo Trading System Farm. If you want to run your own Algo Trading System, just subscribe to our Youtube channel. If you need better results faster, then take a look at the premium course on our website. If you have any questions or suggestions about the content in this video, just send us an email. We always reply ourselves and usually within 24 hours. For now, we say thank you for your attention and see you in the next video.


