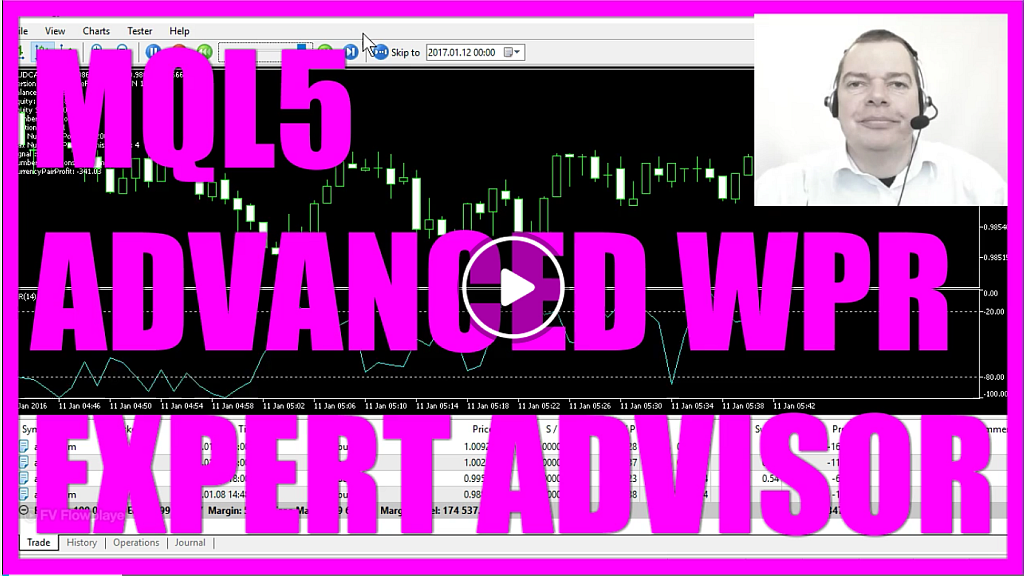
Right now, it’s equity positive and the balance is also positive. We started with 100.000 US Dollar so if I would close this account right away we would have made a profit of 277 Dollars but I am not going to do that.
This very fast running oscillator down here has been invented by a guy named: Larry Williams.
Now we are going to find out how we can create an expert advisor that is able to trade this oscillator automatically.
To do that please click on the little button here or press F4 in your Metatrader.
Now you should see the Metaeditor and here you want to create a file called: CheckEntry_WPR.mq5.
It will use a function called CheckEntry that will deliver a string value for the calculated buy or sell signal.
We need to create an empty string that will be called signal, but we won’t assign a value right now because we going to calculate that later.
We also need to create an array for several prices, that one will be called: WPR-Array[] for Williams’ Percent Range and it’s a double array because it needs to hold floating point values for the prices.
In the next step, we are going to create WPRDefinition by using the mql5 built-in function: iWPR. This one takes only three parameters. The first one will be the currency pair in your chart, the second one will be the selected period on your chart and the last parameter has a value of 14 because if you click on Insert/Indicators/Oscillators/Williams’ Percent Range you will see that is calculated for 14 candles.
Now we need to sort our array from the current candle downwards. This is done by using ArraySeAsSeries for the WPRArray we have created here and with CopyBuffer we will fill the WPRArray according the WPRDefinition we have created here and we will do that for the first line that’s buffer 0 from the current candle 0 for 3 candles.
Now let’s get the value for current the candle!
To do that we will get the variable called WPRValue that will look into the WPRArray and it will get the values for candle[0], and with NormalizedDouble and the 2 here we make sure that we calculate only two digits behind the dot. By the way; this expert advisor made 12 hundred dollars so far.
And of course, we need to calculate the buy signal now that will always be the case when the value of the line here is between -80 and -100. So if WPRValue is below -80 and above -100 we want to assign the text “buy” to our signal.
In the other case, to create a sell signal, we will check if the WPRValue is above -20 and below 0, that would be a sell signal because that is the area above the dotted line here.
That’s the -20 mark and this would be the 0 mark.
Right now, we made 13 hundred and 70 dollars, but now let’s continue.
The final step for our module here is to return the calculated signal to the main module. That will be done by using the return command and now we close the whole module and the function CheckEntry with the final bracket.
If you are ready, please click on save because you don’t compile the entry module.
In my case I need to compile the main module. This is the Golden Goose Framework.
This framework basically is a collection of functions that can be imported. They all have been pre-coded in the so called library. This is the file where we have defined the complete behavior for the trading framework.
If you don’t know what a framework is you can basically imagine a trade management system that you can use again and again. It will enable you to trade up to 22 currency pairs and several positions at the same time.
Obviously, I can’t explain the whole framework in a 5 to 10 minutes video. If you are interested in getting the framework or coding your own framework just visit my website, you will see the URL at the end of this video.
But back to topic.
We are going to import our entry module here and call the CheckEntry function from the CheckEntry_WPR module and with CheckForTick we pass the calculated signal to the trade management.
Now let’s compile that and that worked without any errors so now we can click on the little button here to go back to Metatrader.
In Metatrader we are in the drawdown right now, that means the equity is below 100.000 dollars so let’s switch to full speed here and see what happens.
I’ll try to make this visible for you and now we are cashflow positive again. This is in the middle of July.
Now we are in September.
This is October.
In a few seconds, our test should be finished, and now we are done so let’s go to the results tab. I’ll maximize this for you and you will see that we made 3.357 dollars net profit with 209 trades, 66 trades have been short trades and we had 143 long trades, so this one looks pretty good.
Let’s do a few more tests!
I will disable the visualization mode here to speed up the whole testing process and go to the next currency pair and now you should see a graph tab appearing and this is very fast, half the year is over, now we are in September, and now we are done.
This time it’s a total net profit of 8.580 Dollars.
Let’s switch to the Australian Dollar against the Yen!
Click on start. Just a few more seconds and here we go, total net profit is 10.443 Dollars.
Now let’s trade the Australian Dollar against the New Zealand Dollar.
Start.
Click on the graph tab. This one has a big drawdown but it seems to work out. Finally, we made a profit of 2.840 Dollars.
Let’s do the Australian Dollar against the US Dollar and this is all for the whole year 2016 to 1st January of 2017. This one is faster, and we have a total net of 6.188 Dollars.
Let’s got to the Canadian Dollar against the Swiss Franc!
Start another test.
It’s also very fast and in a few seconds our result is 5.454 Dollars net profit.
Let’s do the Canadian Dollar against the Yen. I prefer when equity and balance are almost the same. This one made 9.286 Dollars.
Let’s see what the Swiss Franc against the Yen can do for us. Ouch! This one hurts!
Let’s see if it will work out. Aah. This looks good but most people would have closed all their positions right here because this is where it really hurts but in the end, we made 4.950 Dollars.
We have a few left.
Let’s do the Euro against the Australian Dollar and you see how fast this is. Ooh, ooh-ooh-ooh-ooh! No, it worked out! This was close to a zero sum game.
I will start the Euro against the Canadian Dollar now. This takes a little longer. It’s going up and down. In the end, it’s only 2.516 Dollars.
We have two left. This one is the Euro against the US Dollar, that’s a very common currency pair for traders, and the result is 6.184 Dollars net profit.
The US Dollar against the Swiss Franc will be the last one for our test. Looks good. And now we are finished and we made 6.670 Dollars.
Okay.
Now you know how you can create an entry module that is able to trade the Williams’ Percent Range indicator automatically and you have coded the entry yourself with a few lines of MQL5 code.
Download “MQL5 Tutorial - Advanced WPR - Entry module only”
AdvancedWPR.txt – Downloaded 400 times – 938.00 B


