

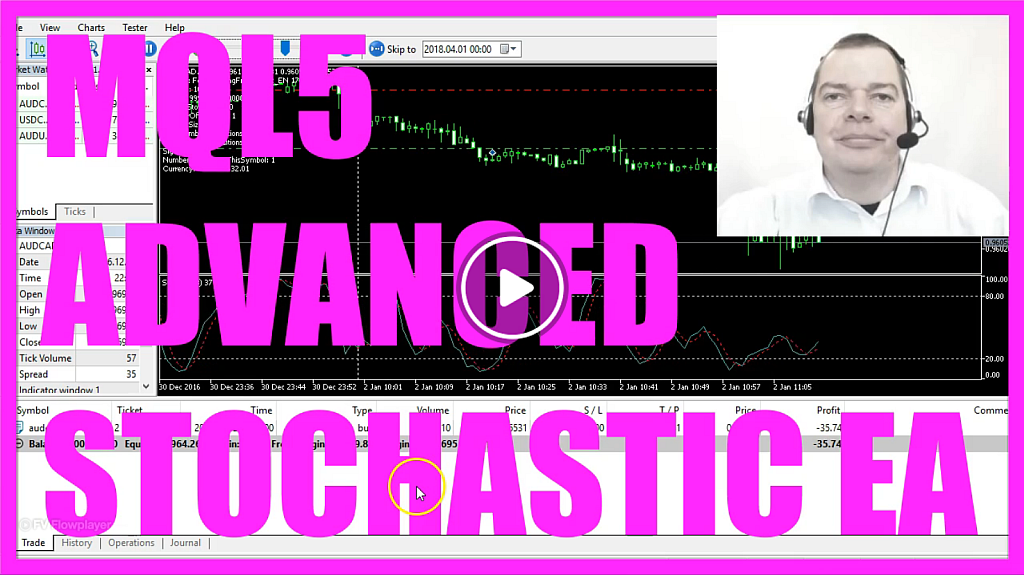
In this video we are going to create an Expert Advisor for the Stochastic Indicator, this is the Stochastic Oscillator, you see two lines and they are creating buy or sell signals.
Whenever we see a crossover below the dotted line here that would be a buy signal and when the two lines cross above the upper dotted line that would be a sell signal.
Now how can we create an Expert Advisor using the Stochastic Oscillator in MQL5?
To do that please click the little button here or press F4 on your keyboard and now you should see the Metaeditor window and here we want to click on “File/ New/ Expert Advisor (template)” from template, “Continue”, I will call this file: “CheckEntry_Stochastic”, click on “Continue”, “Continue” and ”Finish” and now you can remove everything above the “OnTick” function and the two command lines here; basically the “OnTick” function is called whenever we have a price change on the chart but we are going to return the entry signal to our main module – in my case this main module is the Forex Trading Framework, it’s a collection of functions to open at handle trades –, you can also use your own main module. In my case I’m going to include the “CheckEntry_Stochastic.mq5″ file that we are creating here and I use a function called: “CheckEntry” to get the entry signal, so let’s call our function string “CheckEntry” because it will deliver a string, that string will have the name: “Signal”, right now we don’t assign a value because we need to calculate that later on.
We also need two arrays; the K array (KArray) and D array (DArray), both arrays are double arrays so they can hold floating type values and we sort the arrays by using “ArraySetAsSeries” from the current candle downwards and after that we create the Stochastic definition (StochasticDefinition) by using the ”iStochastic” function. The first parameter is for the chart we use, the second one for the period we have selected on the chart.
Now what are these values: 5, 3, 3 and MODE_SMA here?
Let’s click on “Insert/ Indicators/ Oscillators/ Stochastic Oscillator” and here you will see that the K period is 5, the D period is 3, we have a slowing value, the method is simple and the value for the price field is low and high and that’s what we are using here; K period, D period, slowing mode for Simple Moving Average and the low-high value for the price field.
Okay. Let’s fill the array with price data that is done by using “CopyBuffer”.
The K array (KArray) uses buffer 0, the D array (DArray) uses buffer 1 and we want to fill our arrays for 3 candles starting at candle 0 – that’s the current candle that is built on the chart – and now that we have done that we can calculate the value for the current candle by looking at candle 0 for the K array (KArray) and we will assign that value to K Value 0 (KValue0) and afterwards we look at candle 0 in the D array (DArray) and assign the result to D Value 0 (DValue0).
Now we have the values for candle 0 and we do the same for candle 1 because whenever we have a crossover here we need the values for candle 0 and candle 1.
Let’s do that for a buy signal; if the K Value 0 (KValue0) is below 20 and the D Value 0 (DValue0) is below 20 – that would be the case when both values are below the dotted line here – we check if the K Value 0 (KValue0) is now bigger than the D Value 0 (DValue0) and if the K Value 1 (KValue1) was below the D Value 1 (DValue1); if this statement is true we have a crossover below the lower dotted line and now we want to assign the word: “buy” to our signal.
In the other case if both values are above 80 – that’s the upper dotted line here – we check if the K Value 0 (KValue0) is now below the D Value 0 (DValue0) and if the K Value 1 (KValue1) was above the D Value 1 (DValue1), that would also be a crossover above the upper dotted line and now we assign the word: “sell” to our signal.
The last thing we need to do is to use the “return” function to return our signal to the main module, let’s save the entry file here, now I need to include the new file in my main module and recompile the code, that worked without any errors or warnings and in that case I can click on a little button here or press F4 to go back to Metatrader.
In Metatrader I click on “View/ Strategy Tester” or press CTRL and R, now the “Strategy Tester” comes up, I select my main module – that’s the Forex Trading Framework in my case –, enable the visualization mode and start a new test and here is our little Expert Advisor at work, let’s speed it up and now you know how to create an entry module for the Stochastic Indicator and you have coded it yourself with a few lines of MQL5 code.
Download “MQL5 TUTORIAL - ADVANCED STOCHASTIC EXPERT ADVISOR”
AdvancedStochastic.txt – Downloaded 601 times – 1,019.00 B Not sure what to do? Click on the automated trading assistant below
OR CLICK HERE TO BUY NOW

- MQL5 TUTORIAL - SIMPLE STOCHASTIC STANDALONE EXPERT ADVISOR
- MQL5 TUTORIAL - PLATIN SYSTEM - STOCHASTIC OSCILLATOR
- How to combine the Parabolic SAR and the Stochastic…
- MQL5 and Stochastic Oscillators: A Guide to Mastery
- MQL5 TUTORIAL - SIMPLE SAR STOCHASTIC STANDALONE…
- Create an MQL5 Expert Advisor with MQL5Tutorial.com