

- Introduction and Objective:
- The tutorial provides insights into creating a functional “Sell” button in MQL5.
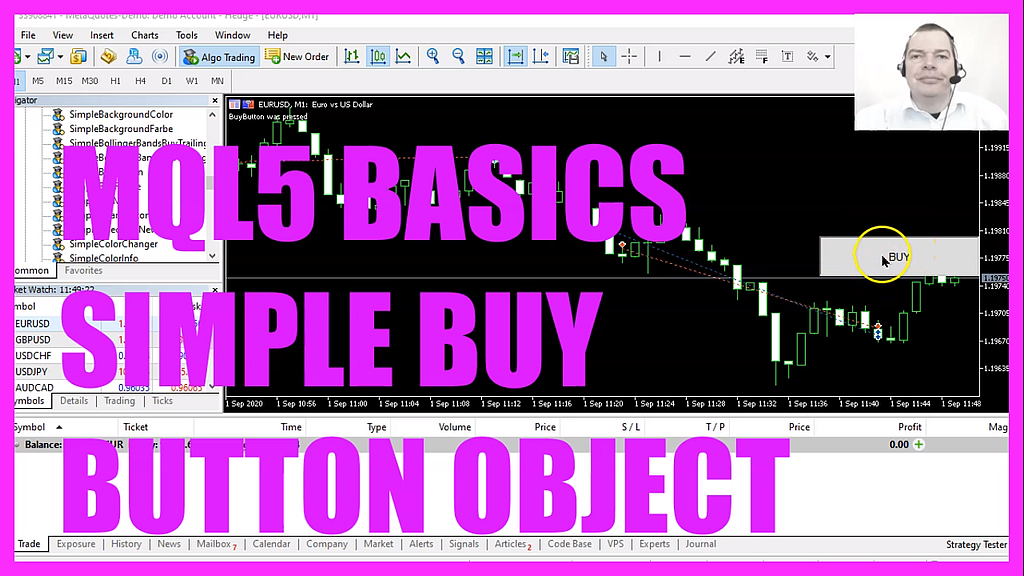
- When activated, this button, placed on a MetaTrader chart, initiates a sell trading position.
- Initial Setup in MetaEditor:
- The coding process begins in the MetaEditor environment.
- Users are guided to click on a specific button or press the F4 key to access the MetaEditor window.
- Incorporating Essential Files:
- The
trade.mqhfile is crucial as it offers a range of simplified trading functions. - This file is included at the beginning of the coding process to facilitate trading actions.
- The
- Button Object Creation and Properties:
- The tutorial provides a step-by-step guide on crafting the button object on the chart.
- Various properties of the button, such as its size (width and height), position on the chart, and the text it displays, are meticulously set.
- The button is named “sell button” for easy identification in the code.
- Event Handling Mechanism:
- The
onChartEventfunction plays a pivotal role in detecting user interactions, specifically button clicks. - This function comes with multiple parameters, with the tutorial focusing on the object ID and the event type (in this case, a button click).
- The
- Sell Order Execution Process:
- Upon a successful button click detection, the code is structured to execute a sell order.
- The tutorial specifies selling ten micro lots as an example of the trade size.
- Testing and Limitations:
- The strategy tester in MetaTrader has its constraints, notably its inability to recognize object clicks.
- As a workaround, the tutorial suggests testing the functionality on a demo account to ensure the button works as intended.
- Customization and Flexibility:
- The creation of a custom “Sell” button is a testament to the adaptability of the MetaTrader platform.
- Traders are encouraged to explore further customizations to enhance their trading experience and strategy execution.
- Conclusion and Further Learning:
- For those who find the pace of the tutorial challenging or are unfamiliar with the coding aspects, the tutorial suggests exploring other basic video series or considering a premium course for a deeper dive.
- Feedback and suggestions from premium course members are welcomed, emphasizing the tutorial’s commitment to continuous learning and improvement.
Video Timestamps
- 0:00 – Introduction to creating a buy button as a chart object in MQL5.
- 0:30 – Opening the MetaEditor to begin the MQL5 process.
- 1:00 – Setting up the basic structure for the Expert Advisor named “Simple Buy Button”.
- 1:30 – Creating a simple array for integer values and assigning values to it.
- 2:00 – Passing the array to a function called “addvalues” and displaying the returned result on the chart.
- 2:30 – Creating the “addvalues” function and using the ampersand symbol to pass the array by reference.
- 3:00 – Adding values to the array and returning the results to the main function.
- 3:30 – Compiling the Expert Advisor and testing it in MetaTrader.
- 4:00 – Observing the returned result on the MetaTrader chart.
- 4:30 – Adding another value to the array, recompiling the code, and observing the new returned value.
- 5:00 – Conclusion: The effectiveness of the Expert Advisor in creating a buy button as a chart object in MQL5.
- 5:30 – Encouraging viewers to watch other videos in the basic video series or consider the premium course for more in-depth knowledge.
- 6:00 – Testing the Expert Advisor in MetaTrader and observing the functionality of the buy button.
Related Questions and Answers:
- What is the primary objective of the tutorial?
- The tutorial aims to guide users on creating a functional sell button in MQL5, which, when activated on a MetaTrader chart, initiates a sell trading position.
- How can users access the MetaEditor for coding?
- Users can access the MetaEditor environment by clicking on a specific button or pressing the F4 key.
- Why is the “trademqh” file important in this tutorial?
- The “trademqh” file is crucial because it offers a range of simplified trading functions. This file is included at the beginning of the coding process to facilitate trading actions.
- How is the sell button designed and identified in the code?
- The tutorial provides a step-by-step guide to create the button object on the chart, setting its properties like size, width, height, position, and displayed text. The button is named “sell button” for easy identification within the code.
- What role does the “onchartevent” function play?
- The “onchartevent” function is pivotal in detecting user interactions, specifically button clicks. The tutorial focuses on parameters like the object ID and the event type, particularly a button click in this context.
- What action is taken when the sell button is successfully clicked?
- Upon a successful button click detection, the code is structured to execute a sell order. The tutorial uses the selling of ten micro lots as an example of the trade size.
- Are there any limitations when testing the functionality in MetaTrader’s strategy tester?
- Yes, the strategy tester in MetaTrader has constraints, notably its inability to recognize object clicks. The tutorial recommends testing the functionality on a demo account to ensure the button works as intended.
- How does the tutorial emphasize the adaptability of the MetaTrader platform?
- The creation of a custom sell button showcases the adaptability of the MetaTrader platform. Traders are encouraged to explore further customizations to enhance their trading experience and strategy execution.
- What options are available for learners who find the tutorial’s pace challenging?
- For those who find the tutorial challenging or are unfamiliar with the coding aspects, the tutorial suggests exploring other basic video series or considering a premium course for a more in-depth understanding.
- How does the tutorial view feedback from its premium course members?
- Feedback and suggestions from premium course members are welcomed, emphasizing the tutorial’s commitment to continuous learning and improvement.